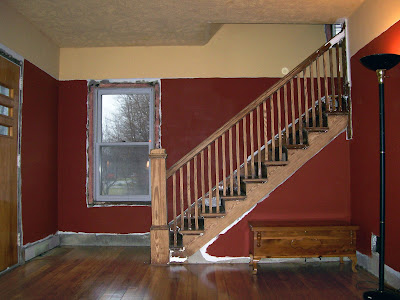
After taking Bach for a long walk this morning, I got busy working on the living room. I decided that the front windows needed to be taken apart in order to do a good job sanding, since the joints were extremely gunked up with caulk and several layers of paint.
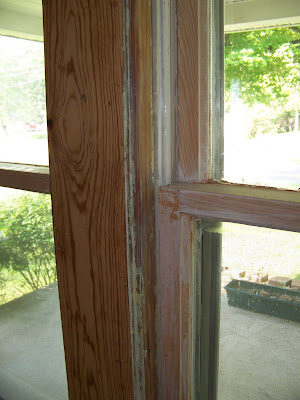
I'd already sanded the face of the trim visible in this picture. The other one was still all gunked up with paint residue from stripping. I used my little pry bar to pull off the interior stops (the strips of wood that hold the sash in place, or would if my windows hadn't been retrofitted with new sashes in the late '80s). Each only had 3 nails, and in 5 minutes I had all 6 of them off.
 I hauled them all outside, then scraped the three sides that were originally painted. Because of the way my windows were retrofitted, one of those 3 sides is no longer visible, but scraping the old caulk helped it to fit flush. Within an hour I had all 6 scraped and sanded.
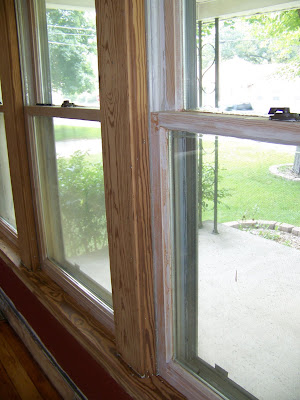
I was hoping to disassemble the window further and take off the trim pieces that separate the windows. I was able to wedge my pry bar in underneath one of them, but it didn't budge. Rather than force it (and probably wreak something), I decided to just sand and scrape them in place.
Since lead paint is an issue with our living room I wore a respirator with special cartridges. FYI, most standard respirator cartridges do NOT work on lead paint. The cartridges that are approved for lead dust and fumes are designated by a purple band and are NIOSH approved. To ensure the respirator is sealed properly around your face, cover the cartridges with your hands and inhale. The mask should pull tight on your face and no air should be coming in. If air leaks in around the edges, the mask does not fit properly and won't protect you from dust or fumes. For your safety, a respirator should be worn whenever you will encounter lead dust or fumes. I made the mistake of stripping lead paint with a heat gun without a respirator and ended up with the mother of all headaches for 2 days. Not very smart. You should also have a vacuum with a HEPA filter to clean up. There are other precautions you may choose to take, and I don't pretend to know everything about lead paint safety. Sand at your own risk!
Another side note... If I ever buy another respirator, it will have a full-face mask. I wore eye protection, but sawdust was flying everywhere so I still ended up with lots of dust in my eyes.
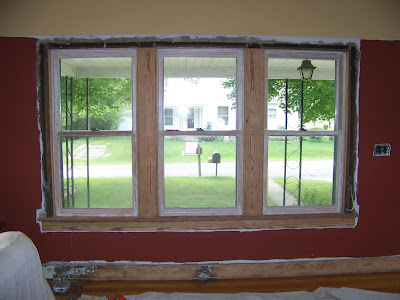
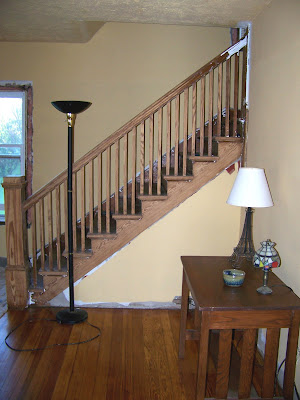
I scraped and sanded the 2 large separator pieces as well as the window sill and trim underneath it. Along with clean-up afterwards, it probably took 2 hours. A lot of the sanding was very awkward, since I had to sand the sides and underside of everything. Not fun for my back, but it looks really nice. Here's my official "after" picture:
There were some spots I couldn't get into with either the sander or scraper. I'll have to figure out something before I stain.
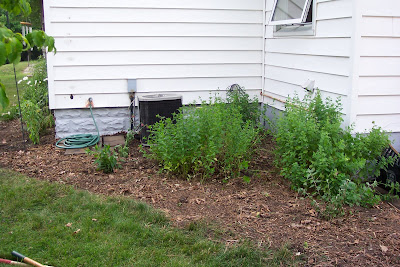
Since the living room was already extremely dusty, I went ahead and started sanding the piece of baseboard that we couldn't remove without ruining the plaster. That looks much better now too! I couldn't finish, since I ran out of sandpaper, but I'm very happy with the progress I made.


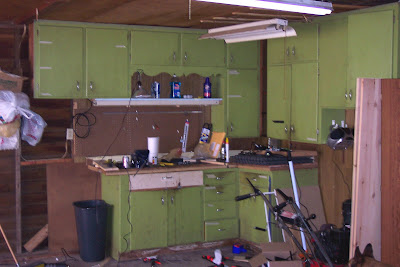
 Those are our cabinets! Remember the fugly green cabinets out in the garage?